Learn how to feed and maintain your sourdough starter with just flour, water, and starter. It takes minimal time, and is worth it for amazing bread, dessert, and so much more that you can bake with it!
You may be curious about sourdough or maybe you already have a sourdough starter but have no clue how to look after it. This post is for you! There are so many things you can make with sourdough that I think it’s more than worth it to keep up with the small amount of care it needs.
Join me as I delve into the basics of how to feed and maintain your sourdough starter.
How to Feed:
Firstly, you can use a glass jar or similar container to keep your starter in. A stoneware crock is also a great option, but if you’re going for simplicity, then a glass jar is probably something you already have in your kitchen. A plastic container is not the best choice, as it can seep unwanted chemicals into your starter over time. You should also avoid using a metal container, as some metals can react badly with the bacteria growing in the starter.
With that in mind, avoid using metal utensils and bowls when it comes to mixing and baking. I like to use a wooden spoon for mixing.
If you have an excess of starter, dump some out before feeding so the jar won’t overflow once the starter begins growing. This excess starter is called “discard”. It’s what you need to get rid of if there’s too much, but it’s an easy part of the starter to use for baking, especially if you don’t want to waste it. (More on discard later in this post.)
Once you have your sourdough starter that’s ready to feed and it’s in its designated container, you can pull out your flour and water. I always eyeball my ingredients, but I loosely use these measurements:
1 part sourdough starter
1 part flour
0.75 part water
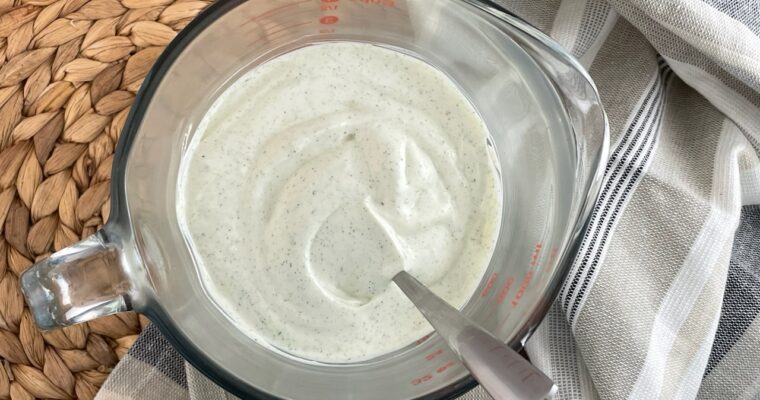
A lot of people say to use a full part of water, but I’ve found that it’s too much. Here’s the goal: you want your starter to be thick; somewhere in between muffin batter and pancake batter. It’s not the end of the world if it turns out runny, but it will not grow and rise as much.
Now that all your ingredients for feeding are in the jar with the starter, you can use that wooden spoon or spatula to mix it up and evaluate the consistency.
If I have just used a lot of my starter to bake with, I usually feed it with more flour and water than normal. For example, if there’s only a small amount of the starter in the bottom of the jar and I need a lot of it for my cooking project the next day, I will add 2+ parts flour and 1.5+ parts water. That way, I make sure that my starter doesn’t go extinct!
Finally, for a starter that lives on your counter (see more on this later in the post), cover the jar with a cloth or paper towel and secure with a rubber band or elastic. It needs to be breathable.
Note:
If you are gluten intolerant, you can use other types of flour if you want sourdough! Although I have never tried anything other than all-purpose flour, you can use many other gluten-free alternatives. For those of you who can tolerate gluten but like whole wheat, you can absolutely use whole wheat flour instead.
Maintenance:
I do not have a set feeding routine, but I usually feed my starter every 1-2 days when I’m actively using it for baking. Life gets busy though, and often I only use my starter once a week. When that’s true, I may only feed it twice a week and just make sure it’s healthy before I’m ready to bake.
A sourdough starter should be kept on the counter if you do use it regularly (such as weekly). If you’re not a busy baker, you can store your sourdough in the fridge to pause its growth. Cold temperatures stop the growing process, so the refrigerator is a great place for storage if you need a break or you’re on vacation. The starter can be kept in the fridge for up to several weeks. You can store it with either a cloth/paper towel over it or a sealable lid. It won’t matter which, because the starter won’t need to breathe and grow.
A healthy sourdough starter that lives on your counter should bubble up and start growing just a couple or few hours after feeding. This is when it’s ready to be used. Be careful not to feed it too much for the size of your jar, or it will overflow out of the top!
Keep in mind that your sourdough starter may act slightly differently depending on where you live and the climate. For example, if you live somewhere very cold in the winter, your starter may not grow very actively if your house is also very cold. This means it may not be ready for use until a day or two after you feed it. On the flip side, if you live somewhere very warm or you get hot summers, your starter will probably become very active and need daily feeding.
How to time feeding with your baking:
I’ve gone through phases of planning precisely when I would bake a certain recipe and when I would have to feed my starter for it to be ready on time. This method works, but if you’re not a planner or don’t have that kind of extra energy, I understand! A good idea is to simply feed your starter on a regular schedule (ie: three times per week), and just use it for baking whenever you want to.
What part of the starter to use and when:
The fed starter is ready to use when it becomes bubbly and is at the peak of its growing stage. This is when it’s “mature”. However, you can also use it after that stage, which as I mentioned earlier, is called discard. The discard is perfectly fine to use unless your starter is unhealthy or has an odd layer on the top (more on that at the end of the post).
Troubleshooting:
If your sourdough starter ever looks inactive even after feeding, there could be a few things wrong:
- It could be too cold for the starter to grow. You could try keeping it near an oven or stove that you use often, or any other place that might be warmer. Even near a heater, but not too close! The ideal temperature for a starter is between 70º- 85º degrees F. Warmth is good for growing, but you don’t want it to become too hot or the starter will die.
- Your starter might not be growing because of an overly dirty jar/container that it’s being stored in. Once in a while, I put my starter in a fresh, clean jar, and it perks up after that. You shouldn’t need to change or clean the jar that often (maybe once a month or less), but it may help.
If your starter starts growing a funny-looking layer on top, that could be a sign that it has caught the wrong type of bacteria or is molding. For example, if it starts growing black fuzz, or you see a pink-tinted or black and watery layer. A black/watery layer usually just means that the starter is hungry and needs to be fed. You can either stir this layer in or dump it out. Personally, I would dump it out so that the starter doesn’t become too pungent.
A pink-tinted layer is also a type of mold, and it can start growing if you haven’t fed it recently. Usually, if you throw out the top pink layer and feed it, it will become healthy again. Putting the starter in a clean jar will help too, so that you don’t have old mold stuck on the sides of the jar.
A starter can also grow a hard top over it. Again, this just means it needs to be fed. You can stir in the top, or remove it before feeding.
Your starter should not smell overly sweet or vinegary.
A healthy starter does have a sour smell, but if it starts smelling sweet, it may be over-fermented and need to be fed more regularly.
Although sourdough starter could have any of these problems, it can usually be fixed with an extra feeding or two. Once your starter is healthy, it is very hard to kill! It could become a hard crust in the bottom of the jar from lack of feeding, and even then you can usually bring it back to life by soaking it and then feeding. The first starter that I got had lots of issues and would often grow unwanted films and layers on the top because I ignored it, but now I would have difficulty if I tried to kill my healthy starter! This is why I love sourdough so much, along with the amazing flavor it provides.
Sourdough recipes coming soon!